-
Rufen Sie Jetzt An +86 13426858645
-
Fragen [email protected]
From Peeling to Permanent: The Engineer’s Guide to High-Abrasion Silicone Ink for Keypads
To get a legend to stay on a rubber button for a million presses, you need a molecular handshake. Really, the only way to get that kind of stick is with a top-tier silicone ink.
 Vonkelseyy

Inhaltsverzeichnis
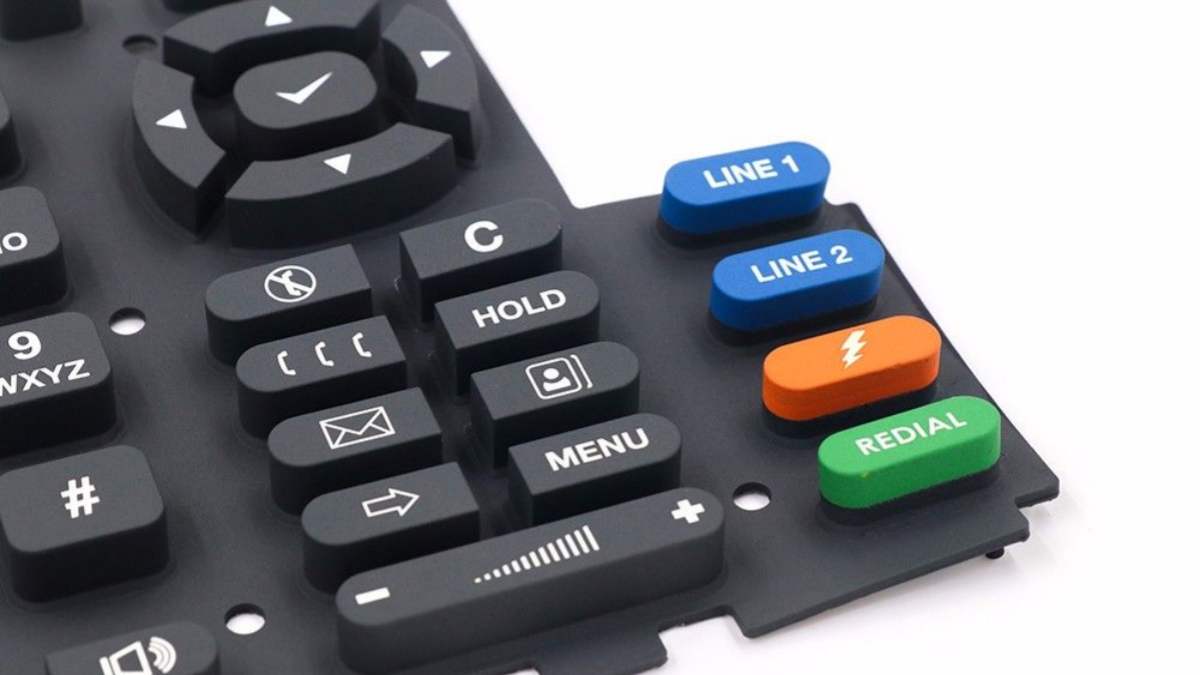
If you’ve ever seen the symbols on a remote control or a car’s dashboard buttons start to flake off, you’re looking at a massive failure in material science. It’s frustrating for the user and a nightmare for the manufacturer. After years of troubleshooting on factory floors, I can tell you the secret isn’t just “better paint.” It’s chemistry.
To get a legend to stay on a rubber button for a million presses, you need a molecular handshake. Really, the only way to get that kind of stick is with a top-tier Silikon Tinte. You’re doing way more than just painting a layer on top; you’re actually fusing the ink and the base together using heat-driven cross-linking. In the end, you get a button that can handle sweat, grease, and millions of clicks without the legend ever fading away.
Silicone Ink Requirements for Keypad and Button Manufacturing
Let’s be honest: manufacturing keypads is nothing like printing t-shirts. It’s a brutal environment out there. Most production managers I deal with couldn’t care less about “pretty colors” if the ink peels off on day one. For them, it’s all about adhesion.
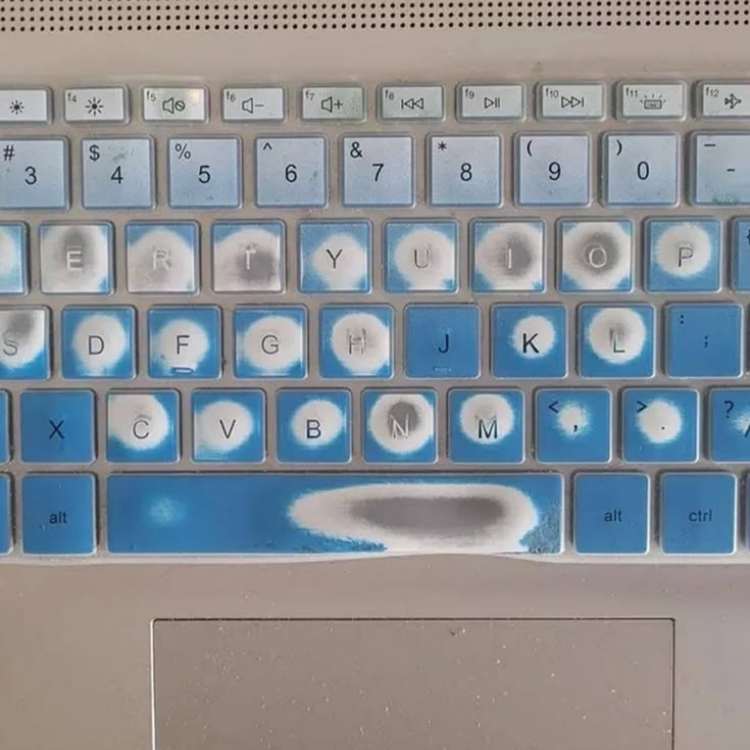
To start, your ink absolutely has to be 100% silicone-based. Try using solvent or epoxy inks on a silicone button, and sure, it might look fine for an hour, but it’ll eventually peel off like a bad sticker. Since silicone has “low surface energy,” it naturally hates sticking to anything. You need an ink with a specific catalyst—usually platinum or tin-based—that uses heat to force the ink and the button to lock together into one solid piece of rubber.
Also, think about elasticity. A button is designed to be squished. If your ink is too brittle, it will crack under the pressure of a thousand thumb-presses. You need a formula with high elongation properties—something we specialize in with our custom silicone ink range.
Applications in Electronics, Automotive, Industrial and Consumer Keypads
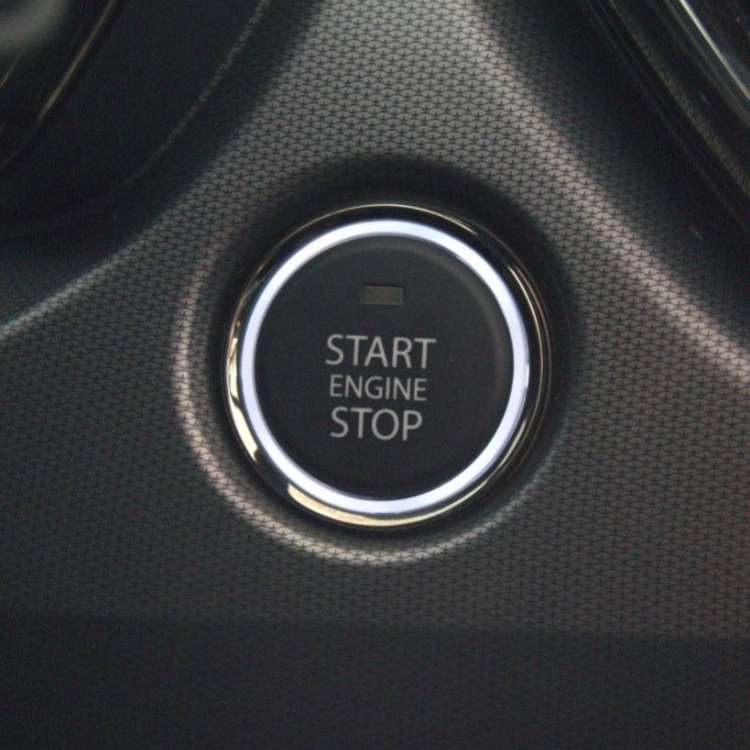
I’ve seen our inks used in everything from high-end surgical tools to the volume buttons in electric vehicles. In the automotive world, the “rub test” is king. Drivers have oils on their skin, and they might have just applied sunscreen or hand sanitizer—both of which are notorious for eating through cheap inks.
In the medical field, it’s about survival. Those buttons get hit with harsh disinfectants every single day. If the legend wipes away, the machine becomes useless—or worse, dangerous. That’s why these industries rely on Flüssigkeit Silikon systems that can withstand chemical warfare and still look brand new.
Compatible Silicone Rubber Substrates for Keypad Printing
You can’t just grab any piece of rubber and start printing. Most keypads are made from High Consistency Rubber (HCR) or Liquid Silicone Rubber (LSR).
Here’s a tip from the field: always check the “bloom” of your silicone. Some cheaper silicone rubbers “sweat” oil over time. This oil acts as a barrier, preventing the ink from ever reaching the surface. If you’re working with a 40-shore A rubber, you’ve got to make sure your substrate is “clean” and free of migrating oils before the screen ever touches it.
Printing Legends, Symbols, Numbers and Functional Markings
The legends are usually tiny. We’re talking about font sizes that require a magnifying glass to inspect. To get these sharp, you need the right screen printing inks and supplies.
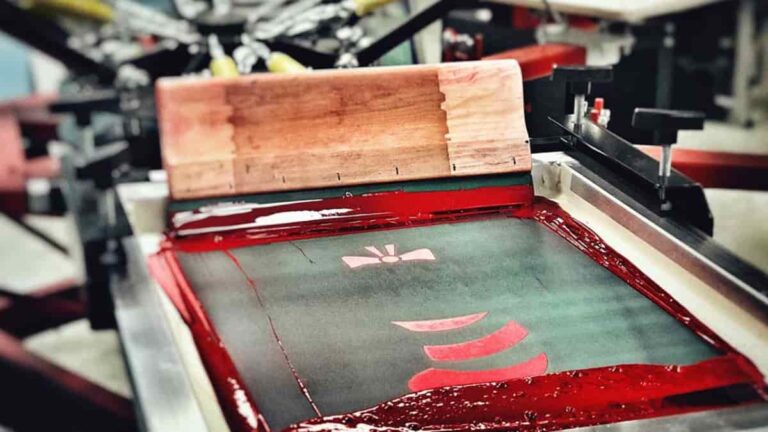
When you’re printing functional markings—like the “On/Off” symbol—precision is non-negotiable. If that ink gets too thick, it starts to “mushroom” out, making your symbols look fat and messy. On the flip side, if it’s too thin, it’ll look weak and washed out the moment a backlight hits it. It’s a delicate dance of viscosity and screen tension.
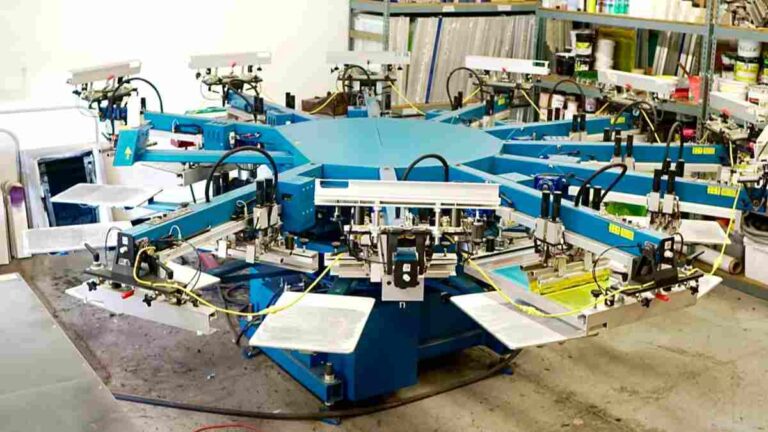
Screen Printing Process for Molded Silicone Keypads
Here is how the process usually goes down on the floor:
First, you drop the keypad into a custom-made jig. If it shifts even a tiny bit, you’ve basically got a pile of scrap.
Then comes the stroke—a squeegee pulls the ink through a fine mesh (we’re talking 300 to 350 mesh).
Finally, the screen snaps back, leaving a perfectly crisp layer of wet silicone ink right where it belongs.
Best Practice: Don’t let the ink sit in the screen during a lunch break. Because it’s a catalyzed system, it can start to “body up” or thicken, which ruins your fine-line detail.
Surface Preparation and Adhesion Promotion
You can’t skip this. If you don’t prep the surface, you’re wasting your time. Most silicone buttons come out of the mold with a thin layer of “mold release” on them. It’s literally designed to stop things from sticking.
We usually recommend a two-step prep:
- Give it a quick solvent wash with IPA to strip away any grease.
- Then, try flame treatment—just a split-second pass with a flame. This actually “shocks” the surface and opens up the molecular structure so the ink has something to grab onto. (Source: Accu Dyne Test on Surface Energy).
Ink Adhesion on High- and Low-Hardness Silicone Keypads
Hardness matters. A 70-Shore A industrial keypad is stiff and stable. Printing on it is easy. But a 30-Shore A consumer button? That’s like printing on a marshmallow.
When the button is soft, the ink undergoes more “strain” every time it’s pressed. For these softer buttons, I always tell my clients to use an ink with a higher silicone resin content. It stays flexible and moves with the button rather than resisting it.
Opacity and Color Consistency for Keypad Printing
If you’re making buttons for a luxury car, the “Red” on the hazard button must be the exact same shade of red in every single car, forever.
We use silicone color pigments with very high loading levels. This gives you “one-hit” opacity. You shouldn’t have to waste time printing twice just to get a solid look. When you’re putting white on a black button, that white has to be “snow bright”—none of that dull grayish stuff—especially if there’s an LED shining through from behind.
Abrasion and Repeated-Press Resistance
This is the big one. How many hits can it take?
The industry standard is the RCA Abrasion test (ASTM F2357). We use a machine that rubs a specific paper tape against the print under a 175g or 275g load.
A “pass” for a high-end keypad is usually 200 cycles. Our premium inks often go well beyond 300 cycles. If your ink fails at 50, you either have a curing issue or your ink-to-catalyst ratio is off.
Chemical, Sweat and Cleaning-Agent Resistance
Buttons are real germ magnets. They’re constantly getting blasted with Lysol, wiped down with alcohol, or just soaked in human sweat. That’s the real killer—sweat has lactic acid and urea in it, which is basically kryptonite for standard paints.
Silicone ink is chemically inert once it’s cured. It doesn’t react with these fluids. That’s why your remote control buttons don’t melt even after years of being held in a sweaty hand.
Curing Temperature, Time and Production Parameters
Silicone ink doesn’t “dry” by evaporation. It “cures” by heat.
Generally, you’re aiming for 150°C (302°F) for somewhere between 5 and 10 minutes.
Don’t try to cheat the clock by cranking it up to 200°C, or you’ll likely scorch the rubber or mess up the color.
But if you go too low? The ink stays “tacky” and you can literally wipe it off with your finger. It’s all about finding that “sweet spot” in the oven.
Adhesion, Abrasion and Functional Testing Methods
Don’t send your product to the customer without testing it yourself. I always suggest these three:
- The Tape Test: Use 3M 600 tape. Press it hard onto the print and yank it off. If the ink comes with it, you’ve failed. (That’s the ASTM D3359 Adhesion Test).
- Then try the alcohol rub: 50 double-rubs with a cloth soaked in IPA.
- And don’t forget the scratch test—use a 2H pencil or even just your fingernail. If it’s done right, that ink isn’t going anywhere.
Common Keypad Printing Defects and Troubleshooting
- Static “Hairs”: Little lines of ink pulling away. Fix: Ground your jig or get an anti-static fan blowing.
- Then there are “fish-eyes”—those annoying little circles where the ink just refuses to stick. Fix: This is contamination. Clean your buttons better!
- Ghosting: A faint double-image. Fix: Check your screen tension. It’s likely too loose.
Quality Control for High-Volume Silicone Keypad Production
Dealing with high-volume quality control? When you’re pumping out 100,000 units, checking them one by one is impossible. In many cases, the big shops we work with rely on camera-based inspection systems to do the heavy lifting. If a single pixel of the “Play” button is missing, the machine kicks it off the line. This keeps the yield high and the customers happy.
How OEM and Keypad Manufacturers Select Silicone Ink
In my experience, the smart manufacturers don’t ask “How much per kilo?” They ask “What’s my final yield?”
Grabbing some cheap, unbranded ink might save you ten bucks today, but if it leads to a 10% reject rate on a $50,000 order, you’ve already lost the game. You really need a partner like Sollyd that actually understands the deep chemistry behind silicone ink for labels and keypads. Look for consistency, technical support, and a product that passes the RCA test every single time.
FAQ: What Major Manufacturers Actually Ask
1. Does your ink meet global environmental standards?
You bet. For most of our big clients, being eco-friendly isn’t just a “nice-to-have”—it’s a dealbreaker. Our inks are totally phthalate-free, halogen-free, and fully compliant with REACH and RoHS. We make sure your buttons don’t just work well; they’re safe for the person using them and the planet.
2. How do we ensure the color doesn’t shift between batches?
We use precise spectrophotometer matching. Whether you buy a batch today or six months from now, the color difference (Delta E) is so tiny the human eye can’t even tell. This is huge for car brands that need parts from different factories to look exactly the same.
3. Can the ink handle extreme “backlight” conditions?
Definitely. We have developed high-density blacks that block 100% of LED light, along with high-translucency whites that let light through evenly without any ugly spots. It’s a tricky balance we’ve spent years getting right.
4. What if our silicone rubber is “oil-rich”?
We have specific primers and additive packages that can “seal” the base rubber before you print. This prevents oil migration from pushing the ink off months after it leaves your factory.
5. Want to know how fast your conveyor can go?
Thanks to our high-reactivity catalysts, plenty of our customers are getting a full cure in under 5 minutes at 150°C. That keeps your line moving fast without cutting orners on quality.

 English
 Deutsch (Sie)
 العربية
 বাংলা
বাংলা 香港中文
香港中文 Français
 Bahasa Indonesia
 Português do Brasil
 한국어
한국어 Tiếng Việt
 日本語
日本語 Polski
 Русский
 Türkçe
 ไทย
ไทย Español de México