-
عربة التسوق +86 13426858645
-
إغلاق درج عربة التسوق [email protected]
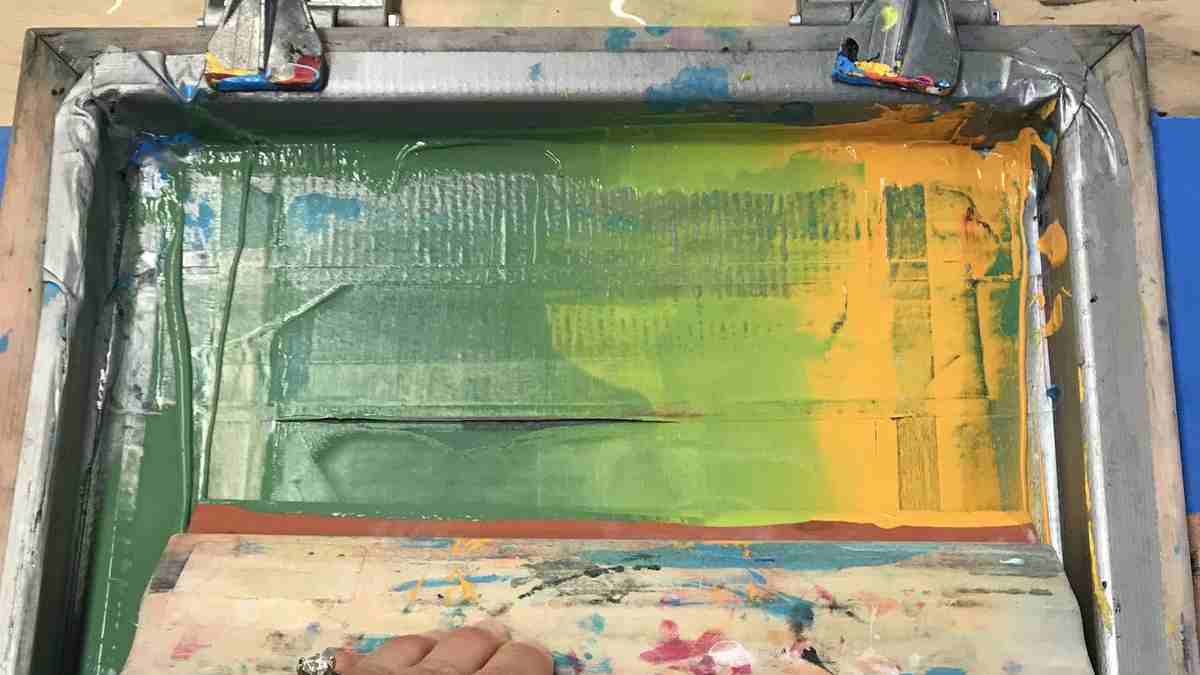
Mastering Silicone Ink for Silicone Rubber: How to Solve Adhesion Failures and Boost Print Durability
Printing on silicone rubber isn't really painting—it's more like welding. You have to use a platinum-cured ink and heat to fuse the two materials chemically. Once that cross-linking locks in, it won't peel off, but getting it consistent takes the right chemistry and solid shop-floor experience.
 Bykelseyy

Table of Contents
I have spent way too many hours standing in hot factories watching perfectly good products get tossed into the scrap bin because the logo just slid right off. If you are dealing with prints that peel or crack the second you stretch them, I have the answer right here. Printing on silicone rubber isn’t really painting—it’s more like welding. You have to use a platinum-cured ink and heat to fuse the two materials chemically. Once that cross-linking locks in, it won’t peel off, but getting it consistent takes the right chemistry and solid shop-floor experience.
Why Is Silicone Rubber Difficult to Print On?
The real problem is that silicone is a “low surface energy” material. Think of it like a non-stick pan in your kitchen. It is designed to repel everything. Most things just won’t stick to it and that includes 99% of the inks on the market.
At a molecular level, silicone rubber is covered in methyl groups. These groups act like a slippery shield. According to studies on Polydimethylsiloxane (PDMS), the surface tension is usually down around 20 mN/m. Most inks need that number to be at least 36 to even begin sticking. If you use a cheap ink or a solvent-based one, it will just sit on the surface like water on a duck’s back. It will eventually flake off and your customers will definitely complain.
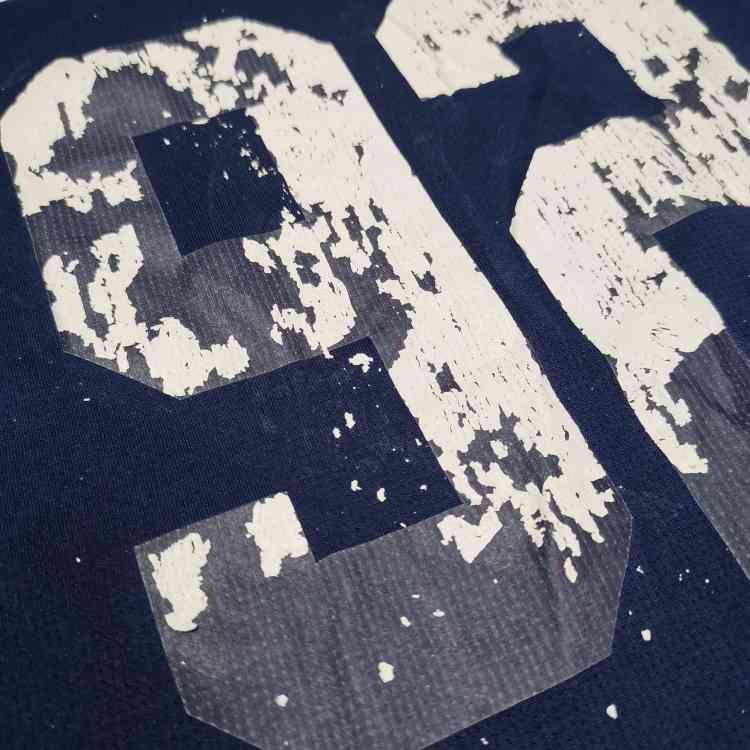
How Silicone Ink Adheres to Silicone Rubber
I always tell my clients that the only thing that likes silicone is silicone. You can’t use plastic-based inks on rubber. You have to use السيليكون السائل based ink because it allows for something called “addition curing.”
When you apply heat, the molecules in the ink and the molecules in the rubber reach out and grab each other. They form a covalent bond. This is called cross-linking. It creates a single, solid structure. You aren’t just putting a layer of color on top but you are actually changing the surface of the rubber itself. This is why a professional screen printing silicone ink manufacturer will always insist on a platinum catalyst. Without that catalyst, the bond never happens and the ink stays wet or peels off like a sunburn.
Factors That Affect Silicone Ink Adhesion
A lot of stuff can go wrong before you even touch a screen. I’ve seen entire batches ruined because someone touched the rubber with oily hands.
- Surface Contamination: Mold release agents are the enemy. Factories spray these in the molds to get the parts out but that oily film kills adhesion.
- Ink Age: Silicone ink has a “pot life.” If you mix it and let it sit for six hours, the catalyst starts to die.
- Substrate Quality: Some cheap rubbers have too much filler. If the rubber is 50% clay or calcium, the ink has nothing to bond to.
I once worked with a factory that couldn’t get their logos to stick for three days. We finally realized they were using a silicone-based hand cream in the packaging area. That tiny bit of oil was enough to ruin the whole job.
Surface Treatment Before Printing on Silicone Rubber
You have to get that surface hungry for ink. The first step is always a wipe down with 99% Isopropyl Alcohol (IPA). Don’t use the cheap stuff from the store because it has too much water in it.
If the alcohol isn’t enough, you might need “Flame Treatment.” You take a torch and pass the flame quickly over the rubber. This doesn’t melt it but it knocks those methyl groups out of the way for a second. It raises the surface energy so the custom silicone ink can actually soak in. It sounds scary but it is a standard move in high-end production.
When Is Silicone Primer Required?
If you are working with very soft rubber or recycled silicone, you might need a “bridge.” That is what a primer does. It is a chemical layer that sticks to the rubber on one side and the ink on the other.
I usually suggest a primer if the “Tape Test” fails consistently. If you are a textile silicone ink factory working with coated fabrics, a primer can save you from a lot of headaches. It is an extra step yet it is much cheaper than reprinting a thousand shirts.
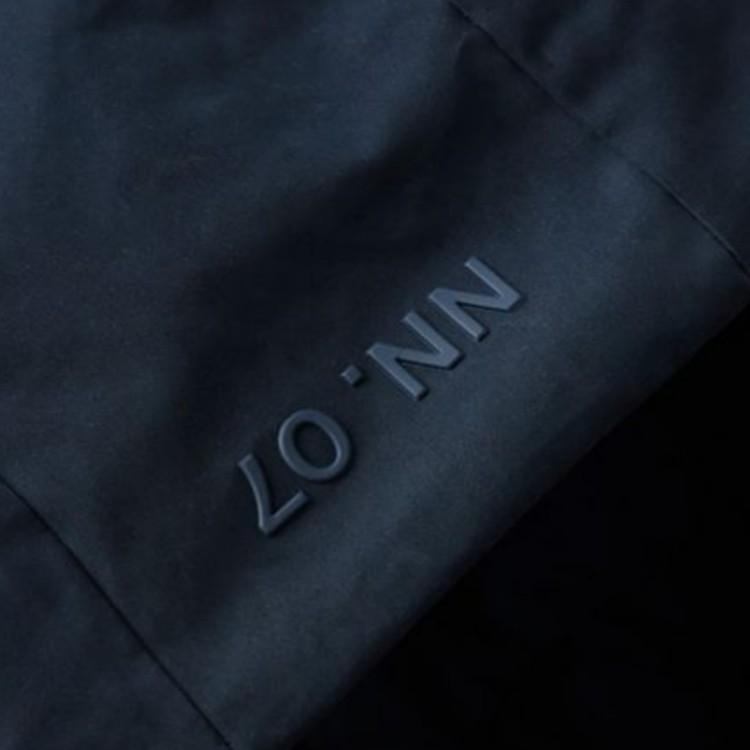
How Mixing Ratio and Catalyst Affect Adhesion
Silicone ink is a two-part game. You have the ink and you have the catalyst. If you guess the ratio, you are going to have a bad day.
- Too much catalyst: The ink cures too fast and gets brittle. It will crack when you stretch the rubber.
- Too little catalyst: The ink stays tacky or “greasy.” It will never fully bond.
Best Practice: Use a digital scale that goes down to 0.01 grams. Never “eye-ball” it. I have seen 2% catalyst errors lead to a 30% drop in rub resistance in our lab tests.
Curing Conditions for Strong and Durable Silicone Prints
Heat is the magic ingredient. Most liquid silicone rubber inks need to hit 150°C (300°F) to really lock in.
The mistake people make is looking at the oven dial. The oven might say 150°C but the ink surface might only be 120°C. You need to use a thermal probe to check the actual temperature of the product. If you don’t hit the “cross-linking temperature,” the bond will be weak and the print will eventually rub off.
How to Improve Abrasion, Scratch and Flex Resistance
When printing on high-wear items like a phone case or a swim cap, your ink is bound to take a serious beating from daily use. To give it real durability, you’ll want to apply a matte or glossy top coat over the surface.
This top coat acts like a “clear shield.” It effectively locks in the pigment underneath so everyday friction won’t scratch right through your design. In many cases, you can also switch to a higher shore hardness silicone for the final layer. This makes the print feel. This makes the print feel more like a hard plastic but it stays flexible enough to bend without snapping.
Why Does Silicone Ink Peel, Crack or Rub Off?
It usually comes down to the “Big Three” mistakes:
- Peeling: You didn’t clean the surface or the rubber has too much mold release oil.
- Cracking: You used too much catalyst or the ink layer is way too thick.
- Rubbing Off: You didn’t cook it long enough or hot enough.
If the ink comes off in big flakes, it’s an adhesion problem. If it comes off like dust, it’s a curing problem. Knowing the difference helps you fix it faster.
Adhesion and Durability Testing for Mass Production
Before you ship anything, you have to try to break it.
- The Tape Test: We use the ASTM D3359 standard. You cut a grid into the print and try to pull it up with strong tape. If more than 5% comes off, you failed.
- The Stretch Test: For high-elasticity items, we stretch the rubber to 200% of its length. The ink should stay smooth and not show any “micro-cracks.”
- The Wash Test: We use ISO 105-C06 for garments. This involves hot water and heavy mechanical action.
Troubleshooting Silicone Ink Adhesion Problems
If things go south, don’t panic. Start by cleaning the rubber again. Double-check your scale and make sure your catalyst isn’t six months past its expiration date.
I have found that 80% of problems are solved just by turning up the heat or cleaning the substrate better. If that doesn’t work, give us a call. Sometimes the rubber chemistry is just weird and you need a specialized ink formulation to bite into it.
FAQ for Quality Teams & Procurement
Is your silicone ink safe for skin contact and eco-friendly?
Absolutely. Most of our global partners really care about this. You’ll find that our ink is completely Phthalate-free and PVC-free. We engineered this specifically around strict OEKO-TEX Standard 100 and ZDHC guidelines. Unlike traditional plastisol, there are zero harsh fumes filling up your shop floor. It runs clean and safe enough for sensitive stuff like baby clothes or medical-grade wearables.
Can your ink survive harsh chemicals or high heat?
To be honest, silicone is incredibly tough. Once that curing process is done, the print can survive anything from -40°C all the way up to 250°C. You won’t see it cracking or melting away. Because it stands up to oils and detergents, we see it used a lot for automotive components and kitchen tools that live in the dishwasher.
How do we stop the ink from drying on the screen during a long run?
We get asked this a lot. The easiest fix is blending in a dedicated retarder or slow-dry additive. It pushes pot life out to roughly 8–12 hours, meaning your ink stays workable and you won’t need to stop and wipe screens down every hour mid-shift.
Do you offer custom color matching for our brand?
We definitely do. We actually use high-end spectrophotometers to keep that Delta E variance under 1.0. This way, your logos stay the same shade whether you are printing in the middle of summer or the dead of winter. We know that for big brands, consistency isn’t just nice—it is everything.
What is the best way to store large amounts of ink?
Honestly, just keep the buckets in a cool, dark corner of your warehouse away from direct heat and sunlight. That’s really the main thing. Make sure the lids are snapped shut, and the ink will easily last a year without issues. One quick tip: always stir it well before mixing in any catalyst.

 English
 Deutsch (Sie)
 العربية
 বাংলা
বাংলা 香港中文
香港中文 Français
 Bahasa Indonesia
 Português do Brasil
 한국어
한국어 Tiếng Việt
 日本語
日本語 Polski
 Русский
 Türkçe
 ไทย
ไทย Español de México