-
Hubungi Sekarang +86 13426858645
-
Ada Pertanyaan [email protected]
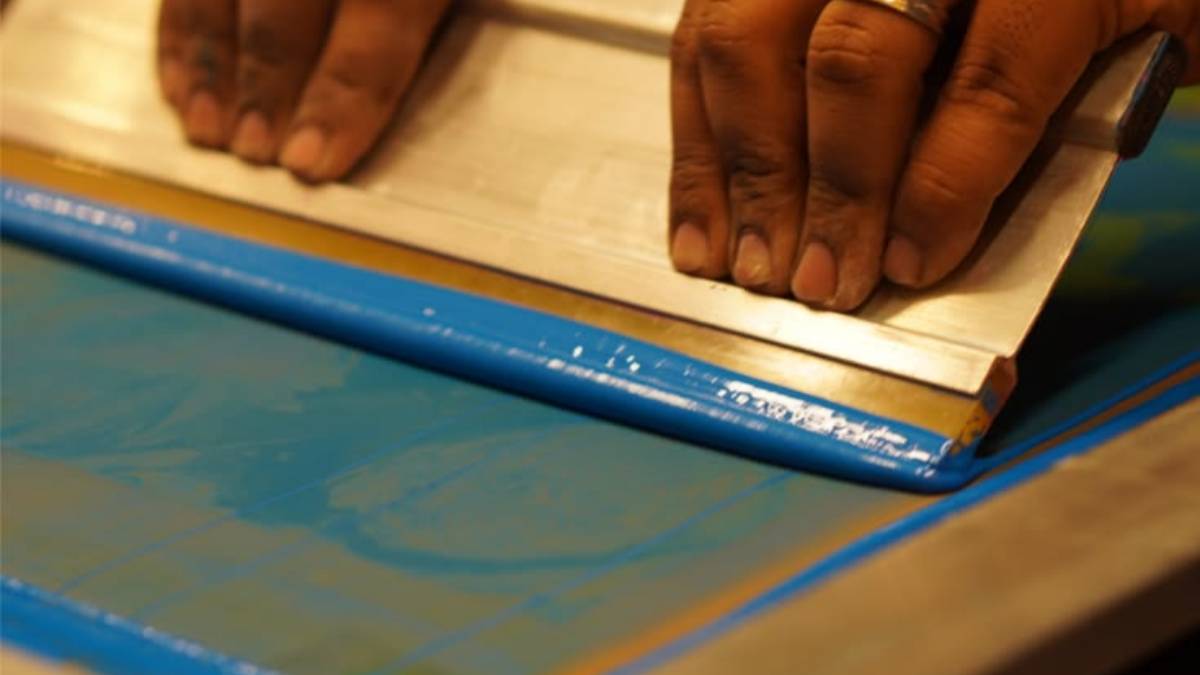
Stop the Peeling: A Solution Specialist’s Protocol for Permanent Silicone Ink Adhesion
At Sollyd, we solve this by combining high-purity cleaning, flame treatment, and precise temperature control. This strategy ensures your silicone ink stays permanently bonded, even through extreme stretching and industrial washing.
 Bykelseyy

Table of Contents
Scrap piles of rejected swim caps and peeling wristbands represent a massive drain on your production yield. Most factory managers struggle with adhesion because silicone rubber is chemically inert. You can stop these losses by raising the surface energy of the substrate and forcing a molecular cross-link. At Sollyd, we solve this by combining high-purity cleaning, flame treatment, and precise temperature control. This strategy ensures your silicone ink stays permanently bonded, even through extreme stretching and industrial washing.
I see this problem every day on factory floors. High-volume manufacturing requires consistency. When you fix the bond, you protect your brand and your profits.
Why Is Silicone Rubber Difficult to Print On?
Silicone rubber is basically a non-stick surface. It has very low surface energy, usually between 20 and 24 dynes/cm. For any silikon cair or ink to stick, the surface needs to be much more active.
Physics is against you here. If the ink can’t wet out properly, it just won’t stick. It beads up like water on wax because the substrate is literally made to repel everything—you’re fighting the material’s own surface energy.
How Silicone Ink Bonds to Silicone Rubber
True adhesion on silicone is a chemical marriage, not a glue job. We use “addition-cure” chemistry. When you apply heat, the platinum catalyst in our sollyd silicone ink triggers a reaction. The polymer chains in the ink physically entangle and chemically link with the polymer chains in the rubber.
I often tell my clients to think of it as welding. If you do it right, the ink becomes a part of the substrate. You cannot separate them without destroying the rubber itself.
Main Factors Affecting Silicone Ink Adhesion
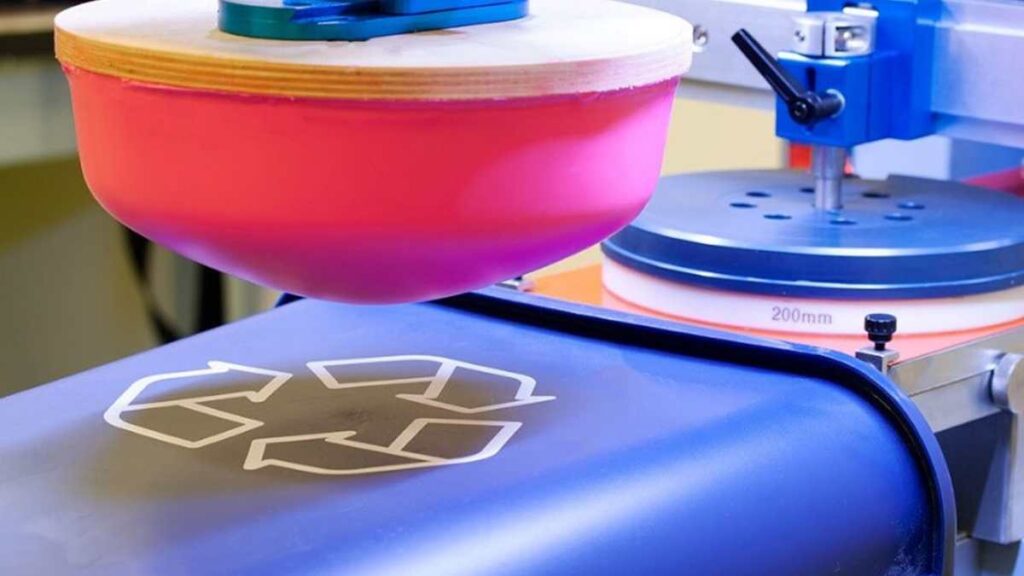
Successful printing depends on a very specific process window.
- Surface Energy: You must raise the dyne level to at least 38-40.
- Cleanliness: Even a fingerprint can block the cross-linking process.
- Thermal Energy: The ink must reach its peak curing temperature to activate the catalyst.
- Mixing Accuracy: A bad catalyst ratio means the ink stays soft and tacky.
In high-volume manufacturing, a tiny error in any of these will lead to batch consistency issues.
How Silicone Rubber Type Affects Ink Adhesion
Every silicone grade reacts differently. I have seen printers use the same setting for everything and wonder why half their jobs fail.
- LSR (Liquid Silicone Rubber): Highly popular for injection molding. It is very smooth and often requires flame or plasma treatment to create “teeth” for the ink to grab.
- HCR (High Consistency Rubber): Used for extruded parts and molded caps. It’s easier to print on but often contains more “blooming” oils.
- RTV Silicone: Room-temperature curing systems can be dangerous. If they use tin-cure chemistry, they will “poison” your ink’s catalyst.
- Platinum-Cured Silicone: This is the best partner for our silicone ink products, but it is sensitive to surface dust.
Surface Contamination: Mold Release Agents, Silicone Oil and Dust
This is the biggest killer of adhesion. During molding, operators spray release agents into the metal tools. This spray is literally designed to prevent sticking. If it gets on your parts, your ink will peel off in one big sheet.
Dust is another invisible enemy. Silicone is naturally static-heavy. It pulls dust from the air. This dust creates a barrier. If you print over it, you are printing on the dust, not the silicone.
Cleaning Silicone Rubber Before Printing
You must clean the surface with the right solvent. I recommend 99% pure Isopropyl Alcohol (IPA) or White Gas.
Don’t just wipe the part. Use a lint-free cloth and wipe in one direction. If you scrub back and forth, you just spread the oil.
Best Practice: Clean the parts and print them within 30 minutes. If you wait longer, silicone oils inside the rubber can migrate back to the surface.
Corona, Plasma and Flame Treatment for Silicone Surfaces
For massive production lines, manual cleaning is too slow. You need a physical treatment.
| Method | Terbaik Untuk | Result |
| Flame Treatment | Swimming caps, large parts | Fast, cheap, very effective. |
| Plasma Treatment | Medical parts, electronics | High precision, very clean. |
| Corona Treatment | Films and flat sheets | Good for continuous rolls. |
I’ve seen flame treatment double the dyne level of an LSR part in less than a second. It is the most reliable way to ensure your high density silicone ink sticks permanently.
When Is Silicone Primer Required?
Sometimes the rubber is just too stubborn. If you are printing on recycled silicone or very low-grade industrial rubber, you need a primer. The primer acts as a chemical “handshake.” It bonds to the messy surface and provides a clean, reactive layer for the ink to grab.
How Ink-to-Catalyst Ratio Affects Adhesion
Silicone ink is a two-part system.
- Under-catalyzing: The ink stays gummy. It will fail the rub test immediately.
- Over-catalyzing: The ink cures too fast and becomes brittle. It will crack during the stretch test.
Always use a digital scale. Most of our systems require a 10:1 or 100:2 ratio. Refer to your specific TDS for the exact weight. Guessing by eye will destroy your profit margins.
How Curing Temperature and Time Affect Adhesion
Curing is about “Total Heat Energy.”
- Typical Temp: 150°C to 160°C.
- Dwell Time: 2 to 3 minutes.
If your conveyor dryer is moving too fast, the ink might feel dry to the touch, but the chemical bond hasn’t happened yet. This is “under-curing,” and it’s the most common cause of returns.
Over-Curing vs Under-Curing: Effects on Print Performance
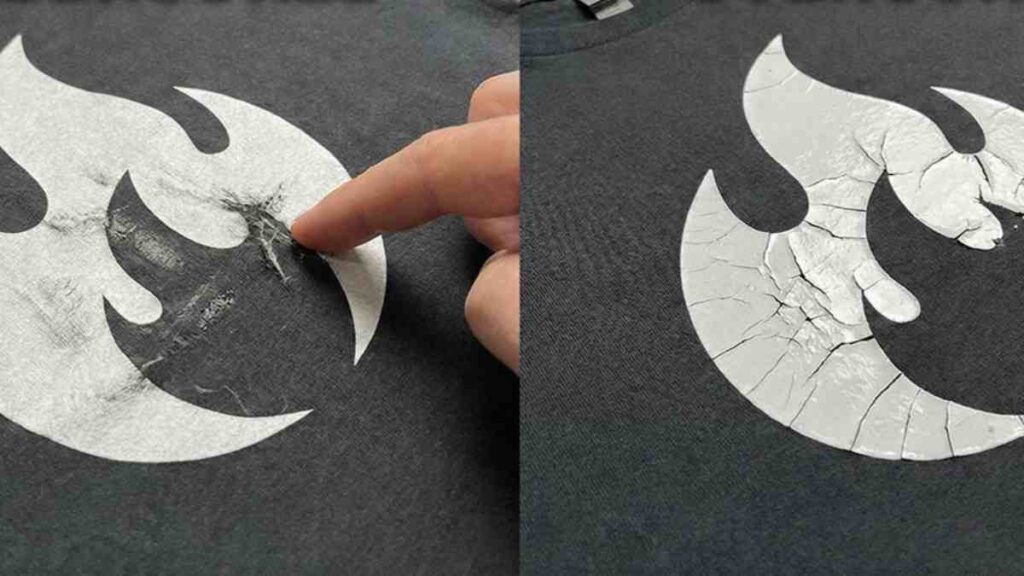
Under-cured ink peels. Over-cured ink snaps.
When you over-bake silicone, you damage the elasticity. This is a big problem for elastic silicone ink. The print might look fine, but it will lose its “memory” and stay stretched out after you pull it.
Adhesion Problems Caused by Incompatible Silicone Substrates
I once spent three days in a factory trying to figure out why the ink wouldn’t dry. It turned out they were using sulfur-based rubber gloves. The sulfur from the gloves touched the parts and killed the platinum catalyst in the ink. This is “catalyst poisoning.” It can be caused by sulfur, tin, or certain amines found in cheap plastics and rubbers.
How to Test Silicone Ink Adhesion
You need a strict quality control protocol. I recommend these four:
- Tape Test: Use 3M 600 tape. Press it down, wait, and rip.
- The 200% Pull: Stretch the part. Does the ink crack? Does it lift at the edges?
- The Rub Test: 50 heavy rubs with a thumb or a machine.
- The Industrial Wash: 20 cycles at 60°C.
Why Does Silicone Ink Peel Off After Curing?
If it peels immediately, you probably have a cleaning problem. If it peels after 24 hours, you likely have a curing problem. Check your oven temperature with a probe, not just the digital display on the wall.
Why Does Silicone Ink Pass Initial Testing but Fail After Aging?
This is the most dangerous issue for large manufacturers. It’s called Oil Migration. Some rubbers contain excess silicone oil that slowly moves to the surface over weeks. It slides under the ink and breaks the bond.
Solusinya: Post-bake your raw rubber parts at 150°C before you print. This “bleeds” out the excess oil so the ink can grab the solid rubber.
Silicone Ink Adhesion Troubleshooting Table
| Problem | Possible Cause | Solution |
| Ink stays wet | Catalyst Poisoning | Change gloves; check substrate for sulfur. |
| Ink peels like tape | Low Surface Energy | Use flame treatment or a primer. |
| Ink cracks on stretch | Over-cured / Too much catalyst | Lower temp; re-check mix ratio. |
| Poor inter-coat bond | Base layer too dry | Reduce flash cure time to 3-5 seconds. |
Adhesion Validation Before Mass Production
Don’t start a run of 10,000 parts without a sample validation.
- Check the CoA (Certificate of Analysis) for your rubber.
- Verify the dyne level of the treated surface.
- Do a full 24-hour age test on your first 10 samples.
In high-volume manufacturing, traceability is your best friend. Record every batch and every temp setting.
FAQ
Is Sollyd silicone ink safe for eco-conscious brands?
Yes. We prioritize environmental safety. Our inks are PVC-free and phthalate-free. We meet REACH and OEKO-TEX standards, which is a huge requirement for our big clients exporting to the EU and USA.
How does humidity affect the printing process?
Silicone is sensitive. High humidity can slow down the catalyst reaction. I always suggest keeping your production room at 45-55% humidity to keep your batch consistency high.
Can we get a custom formulation for our specific substrate?
We do this all the time. If you send us a sample of your rubber, our lab can adjust the ink’s resin or catalyst package to ensure you get a 100% bond during sample validation.
What is the “pot life” of the mixed ink?
Usually, you have about 4 to 6 hours. If your factory is hot, it might be less. I recommend mixing only what you need for a 4-hour shift to prevent wasting expensive material.
Does the color of the ink affect how it sticks?
Sometimes. Darker pigments like carbon black absorb more heat. You might find that black ink cures faster than white ink. Always adjust your belt speed based on the darkest color in your design.

 English
 Deutsch (Sie)
 العربية
 বাংলা
বাংলা 香港中文
香港中文 Français
 Bahasa Indonesia
 Português do Brasil
 한국어
한국어 Tiếng Việt
 日本語
日本語 Polski
 Русский
 Türkçe
 ไทย
ไทย Español de México