
-
Call Now +86 13426858645
-
Any Questions info@sollydsiliconeink.com
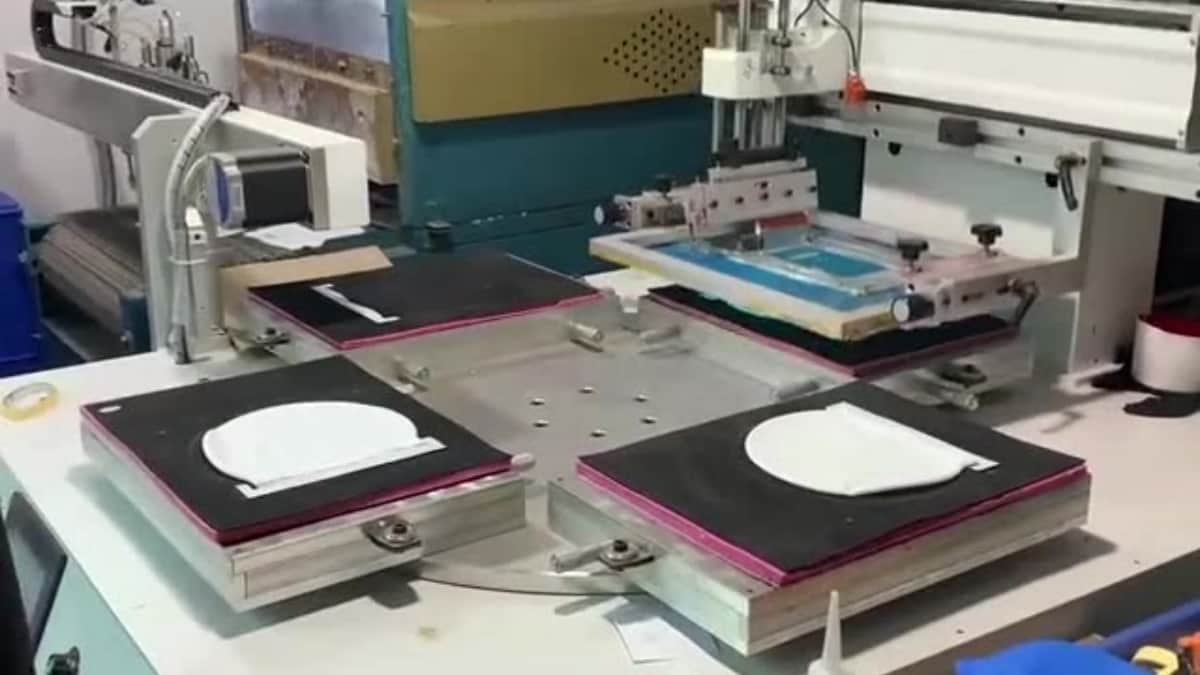
Silicone Ink for Swim Cap Printing
If you want a logo that actually survives a massive stretch without snapping, you've got to have a real chemical bond. This is exactly why specialized silicone ink products exist. They don't just sit on top of the cap; they basically melt into it, becoming part of the silicone itself.

Table of Contents
Printing a swim cap isn’t flat-stock paper. You’re trying to stick wet rubber onto a slippery, domed surface that gets stretched 40% over a wet skull and soaked in bleach. A print that looks pristine on your drying rack will spiderweb and flake off in the pool if you ignore the chemistry.
If you want the logo to survive, the ink, the surface prep, the screen mesh, and your tunnel temps all have to play nice without melting the cap.
Why Silicone Swim Caps Need a Compatible Ink System
Silicone rubber has zero surface energy. It’s slick. Plastisol, water-base, or nylon inks will sit on top and peel off like a cheap sticker the second it cures.
You have to use a dedicated ink system meant for cross-linking directly into silicone rubber. Before you even burn a screen, figure out:
- The exact silicone grade of the cap.
- How thick it is.
- What kind of greasy mold-release agent the factory blasted it with.
- Where the logo sits and how much that specific spot deforms.
Test on the actual production caps. Smearing ink on a flat silicone test square tells you absolutely nothing about how it acts on a curved cap stretched over a jig.
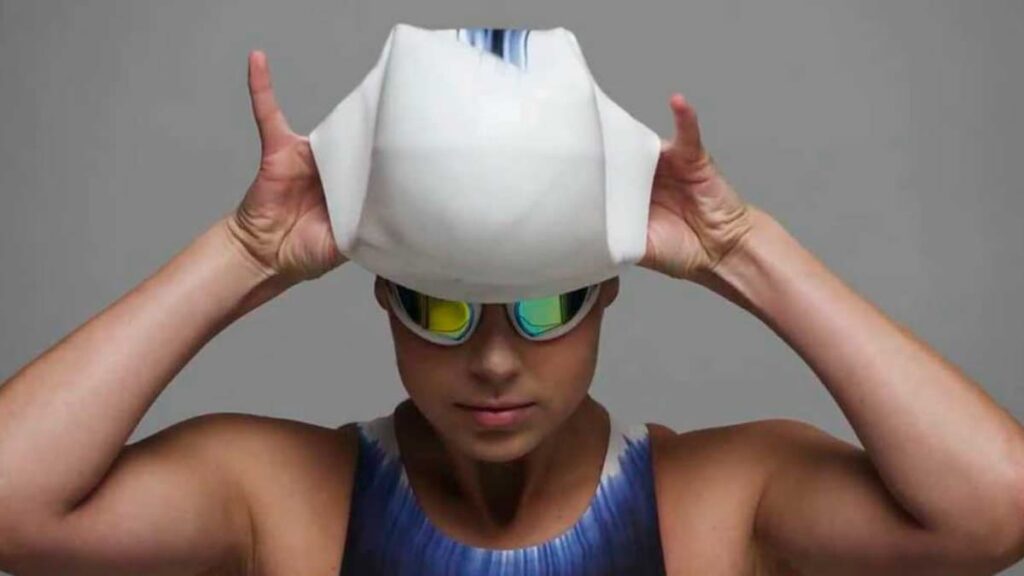
High-Stretch Silicone Ink for Swim Cap Logos
When a swimmer yanks that cap on, it stretches unevenly in three directions at once. The logo has to stretch with it and snap back without buckling.
When you evaluate high-stretch silicone ink for swim caps, you test the finished, baked piece.
Watch for:
- Does it crack when pulled?
- Does the edge lift up?
- Does the ink physically resist the stretch, making the cap feel stiff?
- Does it turn to chalk after sitting in chlorine?
Don’t just pull the cap until it rips in half to prove a point. Stretch it to the actual size of a human head, let it go, and do it fifty times.
Swim Cap Logo Printing and Multicolor Registration
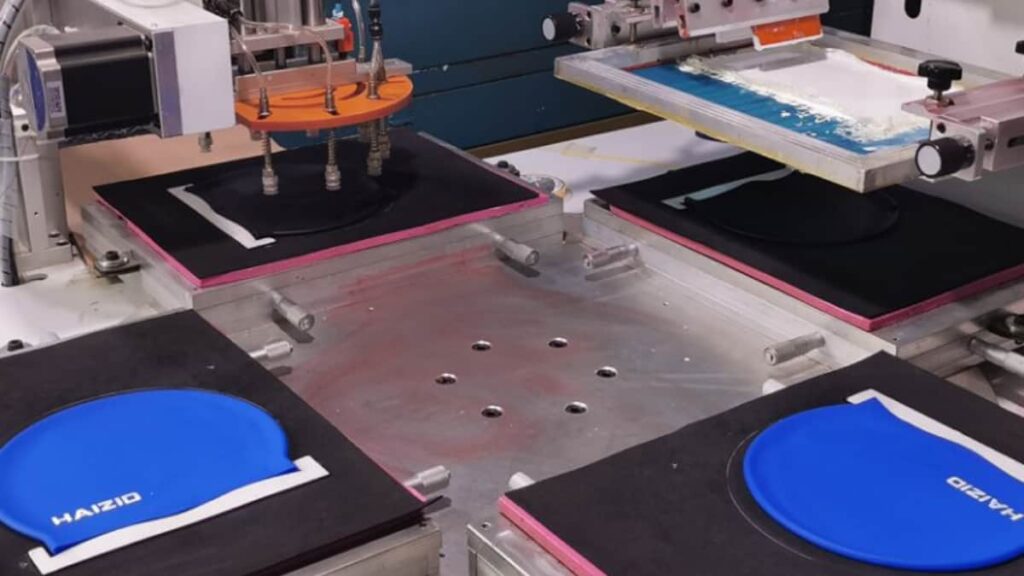
You can’t use spray tack. You need a rigid fixture that holds the cap tight.
The catch is: if you stretch the cap over the jig to print it, your perfect circular logo shrinks into an oval the second you pull the cap off the jig. You have to account for that distortion in the artwork.
For multiple colors:
- Lock down the fixture position.
- Load the cap exactly the same way every time.
- Check your registration while it’s stretched and after it’s relaxed.
- Keep your layers thin. Piling ink up ruins the flexibility.
Newsflash: 200°F under a flash unit behaves completely differently on thin silicone than it does on a cotton tee. Watch for the cap warping.
Color Opacity on Dark Silicone Swim Caps
You want bright white on a black silicone cap? You’re going to be tempted to smash a massive deposit of ink through an open mesh. Don’t.
Excessive ink turns into a stiff rubber plate. Stiff plates crack when stretched.
Look at:
- How solid the white is after it’s fully baked.
- Does the ink turn gray and transparent when the cap is stretched out?
- Are your fine text edges turning into a blurry mess?
Use the silicone ink manufacturer‘s high-opacity base. Don’t just dump random raw pigment into the mix trying to force it to cover; you’ll destroy the curing ratio and it will never dry.
Surface Cleaning Before Printing
The ink will fail if the cap is covered in factory mold release, finger oils, or dust. Wiping it with a dirty alcohol rag just smears the grease around.
Do it right:
- Use the specific solvent cleaner approved for the cap.
- Wipe it down with clean, low-lint shop rags.
- Throw the rag away when it gets dirty. Stop being cheap.
- Let the solvent completely flash off before printing.
Check if the solvent makes the cap swell up or wrinkle. If it does, find a different cleaner.
Adhesion Preparation for Silicone Swim Caps
Sometimes cleaning isn’t enough. Cheap caps or weird silicone blends will reject the ink entirely. You might need to wipe it with a chemical primer first to force a bond.
If you are pulling your hair out over delamination, read the harsh reality on How to Improve Silicone Ink Adhesion on Silicone Rubber.
If you use a primer, watch your clock. There is a processing window. If you prime it on Friday and print it on Monday, you just wasted your time.
Curing the Ink Without Damaging the Swim Cap
Baking a swim cap is a balancing act. You have to hit the ink’s cross-linking temperature without melting or permanently shrinking the cap.
Don’t guess.
- Run a thermal probe through the tunnel right on the print.
- Check if your heavy metal fixtures are acting as heat sinks and keeping the ink cold.
- Let the caps cool to room temp before you inspect them.
A print that feels dry to your thumb at the end of the belt isn’t necessarily cured. If it’s under-cured, it washes off in the pool.
Printing Parameters for Repeatable Production
Lock in your variables. Write them down.
| Control | The Shop-Floor Reality |
| Cap material | Track the factory lot. Next batch might have different mold release. |
| Mounting | Note exactly how far down the jig you yanked the cap. |
| Screen | Mesh count and tension. Loose screens smear on curved surfaces. |
| Squeegee | Durometer and angle. |
| Ink preparation | Mix ratios by weight on a gram scale. No eyeballing. |
| Color sequence | Flash times between heads. |
| Final curing | Actual probe temps and belt speed. |
| Finished print | Check the stretch on piece #1 and piece #100. |
Mix the ink strictly to the spec sheet. Keep an eye on your pot life.
Stretch and Adhesion Testing
Test the caps after they’ve sat for 24 hours to finish cross-linking.
Repeated Fitting Test
Grab the cap with both hands and stretch it over your knee. Do it hard.
Look for:
- White stretch marks in the ink.
- Edges peeling up.
- The top color delaminating from the bottom color.
- The cap turning baggy and ruined.
Adhesion Assessment
Tape checks are fine for a quick glance, but they don’t replace real stress testing. Dig at the edge with your fingernail. If it chips, your cure is garbage or your surface prep failed.
Chlorine-Resistance Testing
Don’t just dump raw pool chlorine into a mop bucket and soak the cap. That doesn’t tell you anything about real-world use.
Set up a real test:
- Known free available chlorine levels.
- Measured water pH and temp.
- Set immersion times followed by drying cycles.
Compare the bleached cap to one sitting on your desk. Did the color fade? Is the ink sticky? Yank it again. Does it crack now?
Water Immersion and Perspiration Testing
Sweat eats ink just as bad as pool water.
| Exposure | What happens |
| Water immersion | Ink swells, loses adhesion, or gets tacky. |
| Chlorinated water | Pigment bleaches out; ink turns to chalk. |
| Artificial perspiration | Acidic sweat breaks down the bond to the cap. |
| Wet–dry cycles | Constant expanding and shrinking causes edge lifting. |
Use an actual artificial-perspiration test fluid if your client demands specs.
Common Swim Cap Printing Problems and Solutions
When the print fails, don’t just randomly change five things at once.
| Problem | The Reality | The Fix |
| Pinholes | Grease on the cap, or you whipped air into the cup. | Clean the cap better. Stir ink slower. |
| Logo cracks | You printed a brick. | Use a higher mesh count. Thin out the deposit. |
| Logo peels immediately | Bad cure or wrong ink system. | Check tunnel temps. Use actual silicone ink. |
| Logo peels later | Surface contamination blocked the chemical bond. | Audit your solvent wipe-down process. |
| Colors misaligned | Cap shifted on the jig, or you stretched it too hard. | Fix your mounting procedure. |
| White looks gray | Ink deposit is too thin or mesh is too high. | Use high-opacity base. Adjust stroke. |
| Cap edges wavy | You baked the cap too hot and ruined the rubber. | Speed up the belt or drop the temp. |
| Fails in chlorine | Cheap pigment or under-cured base. | Use pool-rated pigment. Run a probe temp check. |
If it peels, look at the back of the peeled ink. If it’s shiny, your surface was dirty. If it’s dull, you under-cured it.
OEM Swim Cap Production Quality Control
Stop relying on luck. Document the setup.
- Verify the blank caps match the approved sample lot.
- Weigh out your catalyst on a digital scale.
- Run the first piece, cool it, stretch it, scratch it.
- Watch your pot life. When the ink gets chunky four hours in, scrape the screen and mix fresh.
If the prints start looking blurry or failing the stretch test, shut the press down. Figure it out before you ruin 500 caps.ning
the batch.
FAQ for Quality Managers
1. How do you handle the environmental impact of your ink?
Our silicone ink is actually 100% eco-friendly. We don’t put any PVC, phthalates, or nasty solvents in there. Plus, when it’s curing in your shop, you won’t deal with those toxic fumes. For brands that are pushing “green” manufacturing, this is a massive selling point.
2. Can we use this ink on both latex and silicone caps?
No. This ink is chemically designed for silicone. It will not bond to latex. For latex, you would need a different solvent-based rubber ink. We always recommend sticking to one material per production line to avoid confusion.
3. What happens if the ink is too thick for fine details?
If you need to hit those super fine lines, you can use a bit of specialized silicone thinner to lower the viscosity. It lets the ink flow through high mesh counts—even up to 180T. Just keep it under 10%, or your colors might start to look a little see-through.
4. Is the ink safe for competitive swimmers with sensitive skin?
Yes. Once that ink is fully cured, it’s completely inert. It won’t leach out chemicals or irritate anyone’s skin. That’s why we use it for pro gear that athletes wear for hours at a time.
5. How do we keep the colors from fading in outdoor “open water” swimming?
We use UV-stable pigments because, let’s face it, sunlight is just as brutal as chlorine. We test our pigments to make sure they can handle long-term sun exposure. Whether it’s a bright red or a deep blue, those colors stay punchy even in the middle of the ocean.

 English
 Deutsch (Sie)
 العربية
 বাংলা
 香港中文
 Français
 Bahasa Indonesia
 Português do Brasil
 한국어
 Tiếng Việt
 日本語
 Polski
 Русский
 Türkçe
 ไทย
 Español de México