-
Hubungi Sekarang +86 13426858645
-
Ada Pertanyaan [email protected]

3D Silicone Ink for Textile Manufacturers: Printing Process and Application Guide
Factory owners face the same headache every day: logos that crack after three washes or feel like a stiff piece of plastic. Global brands are getting stricter about PVC-free materials, and old-school inks just aren't making the cut anymore. Most production lines struggle to get that perfectly sharp, raised look without the ink "bleeding" or losing its shape. This is exactly where silicone ink for garment printing solves the problem by offering a durable, eco-friendly way to build height and texture that lasts.
 Bykelseyy

Table of Contents
Factory owners face the same headache every day: logos that crack after three washes or feel like a stiff piece of plastic. Global brands are getting stricter about PVC-free materials, and old-school inks just aren’t making the cut anymore. Most production lines struggle to get that perfectly sharp, raised look without the ink “bleeding” or losing its shape. This is exactly where silicone ink for garment printing solves the problem by offering a durable, eco-friendly way to build height and texture that lasts.
As a solution specialist at Sollyd, I’ve spent years on factory floors helping teams switch from messy plastisol to high-performance silicone. You don’t just get a better-looking shirt; you get a product that moves with the athlete and stays intact through dozens of industrial wash cycles.
What Is 3D Silicone Ink Printing?
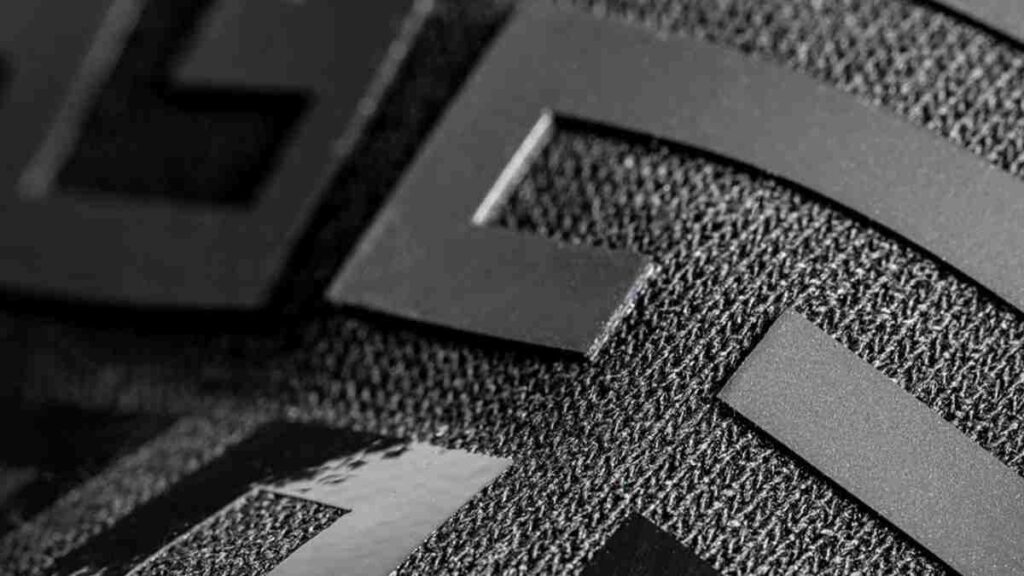
3D silicone printing isn’t just about making a print “thick.” Basically, it’s all about high-viscosity silicone building up a solid “badge” right on the cloth. While water-based inks just bleed into the threads, this stuff sits firmly on top.
After you mix in the catalyst and run it through the dryer, a chemical reaction transforms it into a flexible, tough rubber. This gives you those crisp edges and deep textures that standard inks honestly can’t touch. For brands looking for premium branding, this is the industry standard.
3D Silicone Printing vs High-Density Silicone Printing
I often see printers use these two terms as if they are the same thing. Honestly, they aren’t the same thing at all. If you’re trying to land big-name contracts, getting the distinction right is non-negotiable.
- High-Density (HD) Printing: This is mostly about thickness. You use high density silicone ink to lift the print off the fabric. The edges are usually a bit softer or slightly rounded. It’s great for bold, thick text.
- 3D Silicone Printing: This is about precision geometry. The goal here is “vertical walls.” A high-quality 3D print ends up looking like a factory-molded patch that was glued on, but the reality is you built it up, layer by layer, right on the press.
| Fitur | High-Density (HD) | 3D Silicone |
| Edge Detail | Slightly rounded | Sharp, 90-degree angles |
| Visual Style | Heavy and bold | Structural and “badge-like” |
| Print Passes | Fewer, thicker layers | More layers with precise flashing |
| Primary Goal | Thickness/Height | Geometric shape/Texture |
Applications of 3D Silicone Printing in Textile Manufacturing
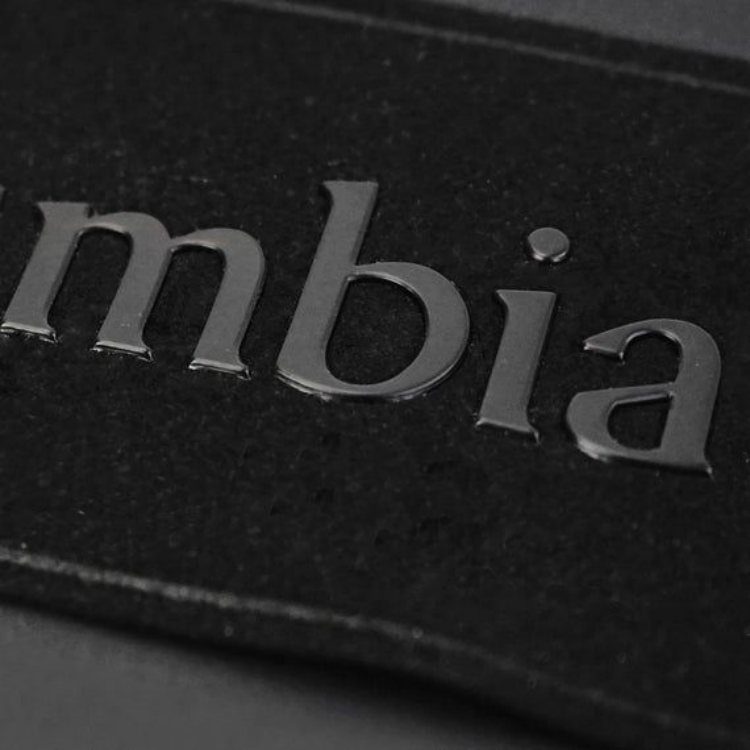
On the production floor, we see 3D silicone used in three main areas. First is professional sportswear. Think of the logos on compression shirts; they have to stretch without snapping. Second is footwear. Many shoe brands use 3D silicone on mesh uppers because it’s tougher than standard ink. Finally, it’s huge in luxury streetwear for creating “stealth” logos—black silicone on black fabric—where the 3D texture provides all the visibility.
Suitable Fabrics for 3D Silicone Printing
Finding the right fabric matters because silicone is pretty selective about what it grips. I tell my clients all the time: don’t even think about starting a 10,000-piece production run until you’ve run a solid test on the fabric.
- Synthetic Performance Fabrics: These are the best match. Silicone ink for lycra and spandex is designed to move with the fabric.
- Sublimated Polyester: This is a danger zone. You must use an anti-migration silicone ink as a base layer. Without that base, you’ll watch the fabric dye “bleed” or climb straight into your logo, which totally kills the color pop.
- Cotton: It works, but you have to be careful with “fuzz.” If the cotton is too fuzzy, the silicone might just peel right off—it ends up sticking to the loose lint rather than the actual garment fibers.
Material Properties Required for Stable 3D Printing
You can’t just use any liquid silicone manufacturer product and expect a 3D effect. So, what makes a 3D print stay stable? The ink needs specific properties:
- High Thixotropy: High Thixotropy is key—the ink needs to stay thick and steady while sitting, but then flow smoothly the second the squeegee puts some pressure on it.
- Fast Leveling: You need Fast Leveling so those squeegee marks disappear in seconds. Otherwise, your 3D logo ends up with those ugly “ribs” or ridges across the top.
- Low Tack: After the flash cure, the surface shouldn’t be sticky, or the screen will pull the ink back up on the next pass.
Screen, Mesh and Stencil Requirements
Your screen setup dictates your 3D quality. Forget your usual 200-mesh screens for this.
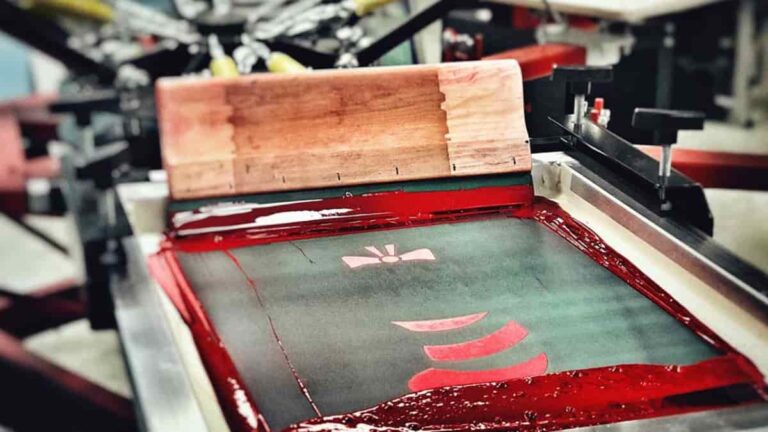
- Mesh Count: Stick to 80 to 120 mesh. You really need those wider openings so the heavy silicone can actually make it through the screen.
- Stencil Thickness: Use a thick emulsion coating or, better yet, capillary film. Think of a thicker stencil as a deeper “well” for the ink; it’s a shortcut to building height.
- Squeegee: Grab a medium-hard one, around 70-75 shore. If it’s too soft, it’ll just “scoop” the ink right back out of the stencil openings.
Ink Mixing, Catalyst Ratio and Viscosity Control
Precision is the difference between a successful run and a bin full of wasted shirts. At Sollyd, we recommend a 2-3% catalyst ratio for most 3D jobs.
Don’t let your workers “eyeball” the mix. A digital scale is the most important tool in your shop. If you put in too much catalyst, the ink will dry on the screen and ruin your 200-dollar mesh. Skimp on the catalyst, and that logo is going to stay sticky forever and peel off the first time it hits a washing machine.
Best Practice: Try to keep your shop around 25°C. If the room gets too hot, the ink thins out, and those crisp 3D edges will start to “melt” or sag.
Building 3D Height Through Multiple Printing Layers
Building height is like building a house; the foundation matters most.
- The Anchor: Print your first layer with a clear “glue” silicone or a thin base to bond with the fabric.
- The Build: Use your 3D ink for the next 3-4 passes.
- The Flash: Heat the ink for 3-5 seconds between every single pass. It only needs to be “skin dry.”
- The Top Coat: The final pass is usually a specialized matte or glossy silicone to give it the right “hand feel.”
Flash Curing and Final Curing Process
Curing is where the chemistry happens. Flash curing is just for the surface. Final curing is for the soul of the print.
- Flash Curing: 100°C to 120°C for a few seconds. Don’t over-flash, or the next layer won’t stick.
- Pengeringan Akhir: For the Final Cure, you’re usually looking at 120°C to 150°C for at least 2 full minutes.
If you try to save time here, the ink might look perfect to the eye, but it’s going to fail the wash test immediately. I’ve seen brands lose millions in recalls because a factory sped up the dryer belt to save time.
Color, Surface Finish and 3D Effect Options
Surface texture sets 3D silicone apart. Pick between light-catching “Piano Black” gloss and high-end, matte “Soft Touch” rubber.
Most Pantone codes are doable. However, taller builds require more pigment to prevent color washout. How do you keep the print crisp and clean?
How to Prevent Edge Collapse, Bubbles and Uneven Height
Edge collapse usually happens because of too much heat too fast. If the bottom layers haven’t fully set and you press a heavy squeegee on top, the “walls” will blow out.
Those annoying bubbles usually come from air getting whipped in during mixing. If you have a vacuum chamber, definitely use it. If not, just let the mixed ink sit for about 15 minutes before it hits the screen so the air can escape. This allows the air to rise to the top and pop naturally.
Stretch, Adhesion and Wash Durability Testing
In my years of experience, a “visual check” isn’t enough. You need three tests:
- The 200% Stretch: Pull the fabric. If you see “smiling” (white gaps) or cracks, your curing was off.
- The 60°C Wash: Throw the sample in an industrial washer for 50 cycles. 3D silicone from a quality silicone ink manufacturer should come out looking exactly the same.
- The Fingernail Test: The Fingernail Test is simple: try to scratch at the edge of the print. If you can lift it even a hair, you’ve got an adhesion problem at the base layer that needs fixing.
Maintaining 3D Print Consistency in Mass Production
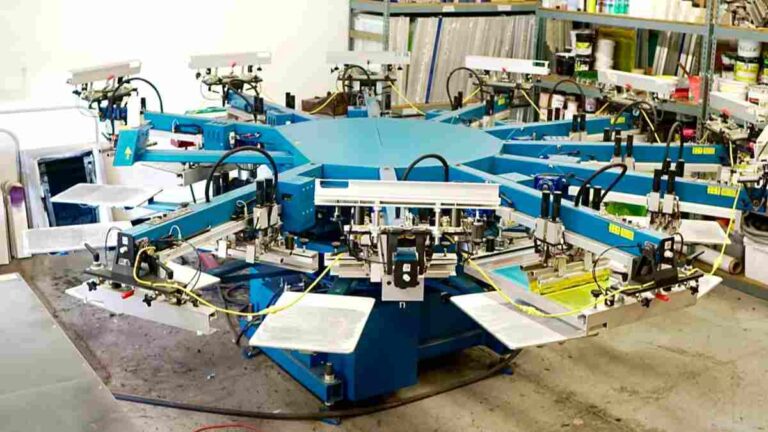
When you’re doing 5,000 pieces, consistency is the enemy. Manual printing is tough for 3D work because human pressure varies. If you can, use an automatic press. It keeps the pressure, speed, and angle identical for every shirt.
Also, watch your ink “pot life.” Mixed silicone usually starts thickening up after 4 to 6 hours. If that ink gets too “heavy” on the screen by the end of the shift, your print height will shift, and the logos you print at 4 PM won’t match the ones from 8 AM. Here’s how to choose the right stuff.
How Textile Manufacturers Select 3D Silicone Ink
Whatever you do, don’t just hunt for the cheapest price per bucket. In large-scale production, you need a partner, not just someone who ships boxes. Look for a wholesale silicone ink provider that actually backs their products with technical data and solid environmental certs.
At Sollyd, we provide the chemistry and the training. We know that if your 3D print fails, your reputation fails. That’s why we focus on high-stability formulas that work even in humid, high-temperature factory environments.
FAQ
1.Are these inks environmentally safe?
You bet. Every Sollyd ink is PVC-free and meets the big standards like OEKO-TEX and REACH. This is a huge selling point for big brands who have strict “Green Chemistry” lists. We’ll provide all the paperwork your clients are going to ask for anyway.
2.Why is my print still sticky?
Usually, it’s either a bad mix or the heat wasn’t high enough. If that catalyst doesn’t “kick in” fully, the silicone stays half-liquid. Grab a laser thermometer and make sure the actual fabric surface is hitting at least 120°C+.
3.Can I use this on waterproof nylon?
It’s tricky because those coatings are literally made to repel stuff. You’ll need a dedicated “bonding agent” or primer first. Once that base layer is set, you can build your 3D effect right on top without issues.
4.How many layers do I need for a 2mm height?
It depends on your mesh and stencil thickness. Usually, with a 100-mesh screen and a thick stencil, you can get about 0.4mm per pass. So, you’re looking at roughly 5 passes to hit that 2mm mark.
5.What is the shelf life of the ink before it’s mixed?
Unmixed Sollyd silicone ink usually lasts 12 months if stored in a cool, dry place. Once you add the catalyst, you generally have a “pot life” of 4 to 8 hours depending on the room temperature.

 English
 Deutsch (Sie)
 العربية
 বাংলা
বাংলা 香港中文
香港中文 Français
 Bahasa Indonesia
 Português do Brasil
 한국어
한국어 Tiếng Việt
 日本語
日本語 Polski
 Русский
 Türkçe
 ไทย
ไทย Español de México