
-
Call Now +86 13426858645
-
Any Questions info@sollydsiliconeink.com

3D Silicone Ink Printing Process for Textile Manufacturers
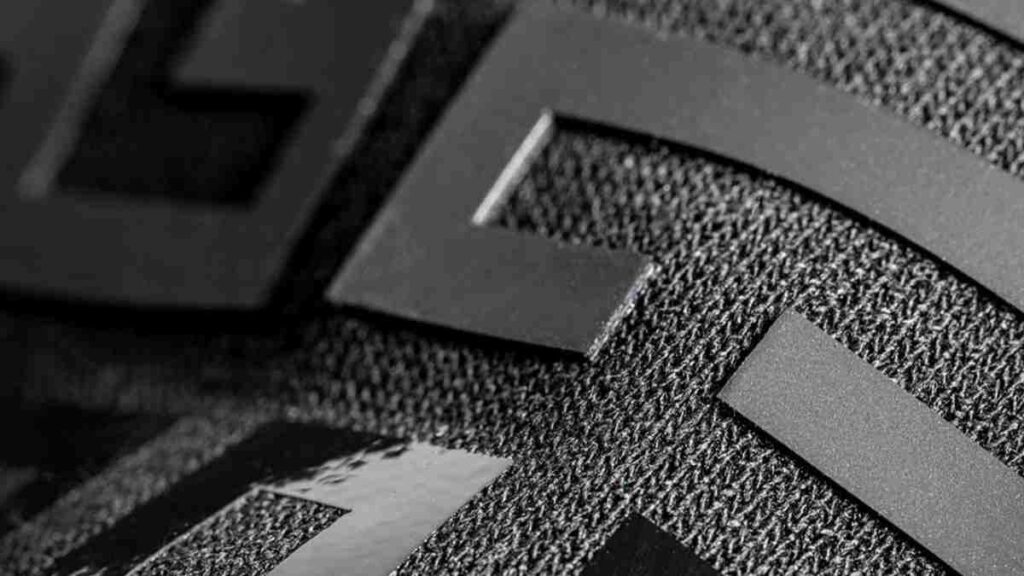
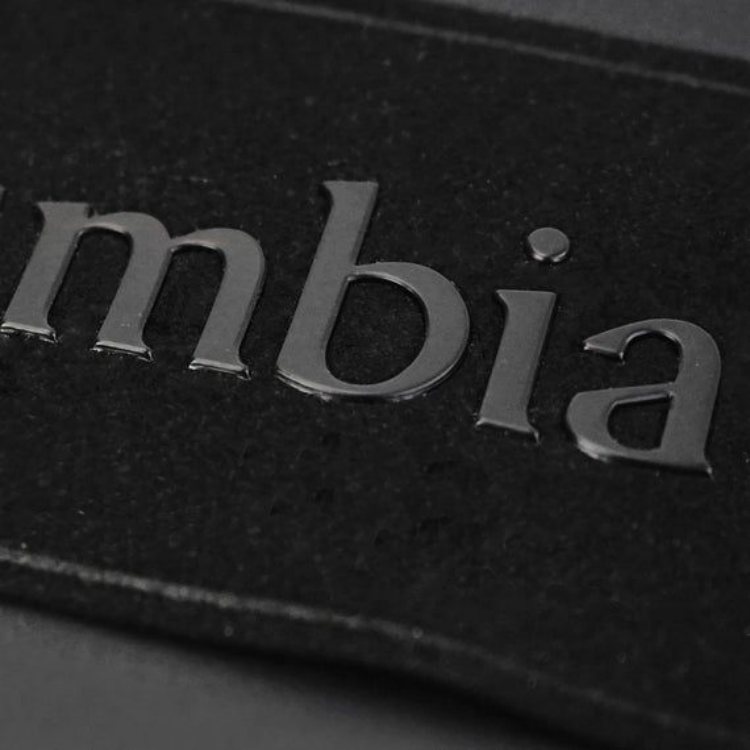
Factory owners face the same headache every day: logos that crack after three washes or feel like a stiff piece of plastic. Global brands are getting stricter about PVC-free materials, and old-school inks just aren't making the cut anymore. Most production lines struggle to get that perfectly sharp, raised look without the ink "bleeding" or losing its shape. This is exactly where silicone ink for garment printing solves the problem by offering a durable, eco-friendly way to build height and texture that lasts.

Table of Contents
Look, stacking silicone on a shirt until it looks like a braille phonebook isn’t magic. You pile wet rubber on top of wet rubber, flash it, and hope the edges don’t slump into a melted puddle. A sharp 3D silicone print means hitting your marks on the press and controlling your chemistry. You follow the tech sheet for your exact ink system to get your mix ratios, pot life, and bake times based on specific product and test requirements.
1. Prepare the Artwork and Define the Finished Height
Customers will hand you artwork with needle-thin lines and ask for a 2mm raised print. Say no. Details that look sharp flat will turn into a blown-out mess when you stack them six layers high.
Define your target height and edge profile before you burn a screen. Before taping up your frames:
- Verify open spaces. If gaps are too tight, the wet silicone bridges the gap and fills it in.
- Figure out registration between your base, build layers, and finish.
- Think about how a massive rubber brick bends on a worn garment.
- Get a physical strike-off signed by the client.
Measure the height after it’s baked solid. Wet ink height on the platen means absolutely nothing.
2. Prepare the Screen and Control Stencil Thickness
Emulsion over mesh (EOM) is your only friend here. But pumping a screen with thick coats of emulsion doesn’t just hand you an automatic 3D print. A thicker stencil holds more ink, but it also fights you on release and rips fine details right off the mesh if your off-contact is garbage.
Check your frames:
- Drum-tight tension. Loose screens smear.
- Uniform emulsion thickness. Use heavy capillary film based on your validated screen room specs.
- Zero pinholes. Tape them up.
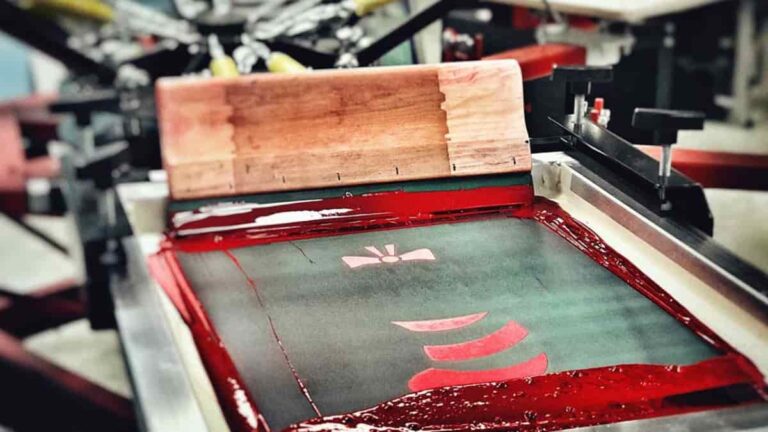
Remember your ink basics: Plastisol never dries on the mesh—leave it over the weekend, eat lunch, it doesn’t care. But don’t touch it with water. You need press wash, mineral spirits, or degreaser, and your rags belong in an OSHA-rated fire can. Silicone has a hard pot life in the screen, but the cleanup rules are just as filthy.
3. Select the Mesh for Deposit and Detail
You want bright white on black cotton? You’re smashing it through an 86 or 110 mesh with heavy squeegee pressure. Don’t whine when it turns into bulletproof chest armor that feels like a floor mat. Dump reducer in it to make it soft, and watch your opacity turn into a dirty gray ghost.
| Mesh variable | Shop-floor reality |
| Mesh count | Lower count dumps sludge. Higher count holds detail but chokes the ink. |
| Thread diameter | Thin threads mean more open area to push thick material through. |
| Opening size | Dictates if the silicone actually clears the screen. |
| Screen tension | High tension snaps off the wet deposit cleanly. |
| Stencil thickness | Acts like a cookie cutter for your profile. |
Always specify if you’re talking threads per inch or per centimeter. European frame math will trip you up.
4. Weigh and Mix the Compatible Components
Mix your base, catalyst, and silicone color pigment exactly based on specific product and test requirements. Buy a digital gram scale. Don’t eyeball it. Do not steal a ratio from a different brand’s bucket.
The drill:
- Read the batch dates. Dead ink prints like dirt.
- Weigh it out.
- Scrape the sides and bottom. Unmixed catalyst leaves uncured sticky spots that wash out.
- Stir slow. Whipping it like eggs traps air bubbles.
- Write the mix time on the cup.
- Beat the pot life clock.
If the spec says let it degas, wait. Mix only what you can print before it turns into a hockey puck. You can read up on the raw chemistry realities in our screen printing silicone FAQ.
5. Control Viscosity and Flow Recovery
High-density silicone is stiff as cold peanut butter right out of the bucket; you have to churn it with a spat until your forearms ache. It needs to shear thin under the squeegee to flow through the mesh, then immediately lock up so your sharp edges don’t slump.
Watch for:
- Narrow details clogging.
- Drag on the squeegee stroke.
- Sticky release pulling the shirt up.
- Slumping out of bounds after the stroke.
Keep the shop temp stable. Use only the manufacturer’s modifiers. Don’t bother dumping random general-purpose silicone oil in the mix; it will ruin your edge definition and kill your wash fastness.
6. Establish the Print–Flash–Print Cycle
Glue that board down tight. If the fabric shifts a millimeter during a 6-layer build, you’re printing garbage.
Nine times out of ten, skipping your blocker base on synthetics results in your bright white print turning pepto-bismol pink on red poly because the heat pulled the shirt dye right up into the plastic.
For every pass:
- Lay down the deposit.
- Let the screen pop off clean.
- Flash it.
- Let the platens cool so you don’t over-cure the base layers.
- Check your registration.
Newsflash: 230°F under the flash is just tacky surface gel so the next head doesn’t smear. If you bake it dead under the flash, the next layer won’t stick. Record your squeegee durometer, angle, pressure, and speed.
7. Build Silicone Print Height Gradually
Hit and flash. Hit and flash. There is no magic number of strokes. Six passes on a manual might equal four on an automatic depending on your mesh and squeegee pressure.
While setting up:
- Track exactly how many hits you did.
- Watch the center and the edges. Edges build faster.
- Keep an eye on small text closing in.
- Measure the actual profile after it’s fully baked.
A matte or glossy clear coat at the end is a separate step. Treat it like a whole new layer variable.
8. Prevent Edge Collapse, Bubbles and Uneven Height
When it goes wrong, figure out if it happened under the flash or on the squeegee pull.
| Defect | The Reality | The Fix |
| Edge collapse | Flashed too hot or dumped too much ink. | Back off the heat, check your deposit. |
| Bubbles | Whipped air into the cup, or shirt moisture steaming out. | Stir slower. Pre-flash shirts. |
| Uneven height | Manual stroke is inconsistent or off-contact is tilted. | Level the press. Lock down pressure. |
| Distorted details | Bad screen tension dragging the wet ink. | Tighten your mesh. |
| Layer separation | Baked a bottom layer too hard; top layer can’t grab it. | Lower flash time. Check interlayer window. |
The catch is, you can’t change five variables at once. Change one thing. Test it.
9. Validate Final Curing
Baking that vinyl paste to 320°F (160°C) so it fuses into a solid chunk of rubber is the only way it survives the wash. That means the entire thick 3D deposit needs to reach that temp, all the way down to the fabric.
Laser temp guns are liars—donut probes tell the truth. Run a probe through your tunnel.
- Measure the thickest part of the print.
- Map your dryer’s hot and cold spots.
- Check your belt speed against the required dwell time.
- Watch out for scorching the garment.
Touching the print at the end of the belt and saying it feels dry is amateur hour. Let it cool before you evaluate it.
10. Test Stretch, Adhesion and Wash Durability
Test your final print on the actual production garment based on specific product and test requirements.
Stretch Testing
Yank on it. Does it snap back? Does the edge lift? Does it crack wide open? Test it to the actual strain the shirt will see in the real world.
Adhesion Testing
Pick at the edges. See if the top layer peels off the base layer like an onion. Tape checks are fine for a quick glance, but they don’t replace real stress testing.
Wash Testing
Customers will wash it on industrial hot with cheap detergent. Test it to your specified wash cycles. If it peels off like dead skin in the customer’s wash, don’t just dump more catalyst in. Look at your flash times and your tunnel temps.
11. Maintain Consistency in Batch Production
Convert the approved trial into a documented setup. Write it down.
| Control area | What to track |
| Fabric | Composition, dye lot, finishes. |
| Ink | Batch numbers, mixing time. |
| Screen | Mesh count, tension, EOM thickness. |
| Printing | Squeegee durometer, angle, pressure, stroke count. |
| Layering | Flash order, clear coats. |
| Heating | Flash dwell time, cooling stations. |
| Final curing | Belt speed, tunnel temp, probe readings. |
Check piece 100 against piece 1. Watch your pot life. When the silicone starts getting chunky in the screen four hours into a run, your deposit changes. Scrape it out and mix fresh.
If it all goes sideways, stop the press. Investigate before restarting.
Check material compatibility before you waste a day on the press: Choosing Silicone Ink for Textile Printing Applications.
FAQ
1.Are these inks environmentally safe?
You bet. Every Sollyd ink is PVC-free and meets the big standards like OEKO-TEX and REACH. This is a huge selling point for big brands who have strict “Green Chemistry” lists. We’ll provide all the paperwork your clients are going to ask for anyway.
2.Why is my print still sticky?
Usually, it’s either a bad mix or the heat wasn’t high enough. If that catalyst doesn’t “kick in” fully, the silicone stays half-liquid. Grab a laser thermometer and make sure the actual fabric surface is hitting at least 120°C+.
3.Can I use this on waterproof nylon?
It’s tricky because those coatings are literally made to repel stuff. You’ll need a dedicated “bonding agent” or primer first. Once that base layer is set, you can build your 3D effect right on top without issues.
4.How many layers do I need for a 2mm height?
It depends on your mesh and stencil thickness. Usually, with a 100-mesh screen and a thick stencil, you can get about 0.4mm per pass. So, you’re looking at roughly 5 passes to hit that 2mm mark.
5.What is the shelf life of the ink before it’s mixed?
Unmixed Sollyd silicone ink usually lasts 12 months if stored in a cool, dry place. Once you add the catalyst, you generally have a “pot life” of 4 to 8 hours depending on the room temperature.

 English
 Deutsch (Sie)
 العربية
 বাংলা
 香港中文
 Français
 Bahasa Indonesia
 Português do Brasil
 한국어
 Tiếng Việt
 日本語
 Polski
 Русский
 Türkçe
 ไทย
 Español de México